
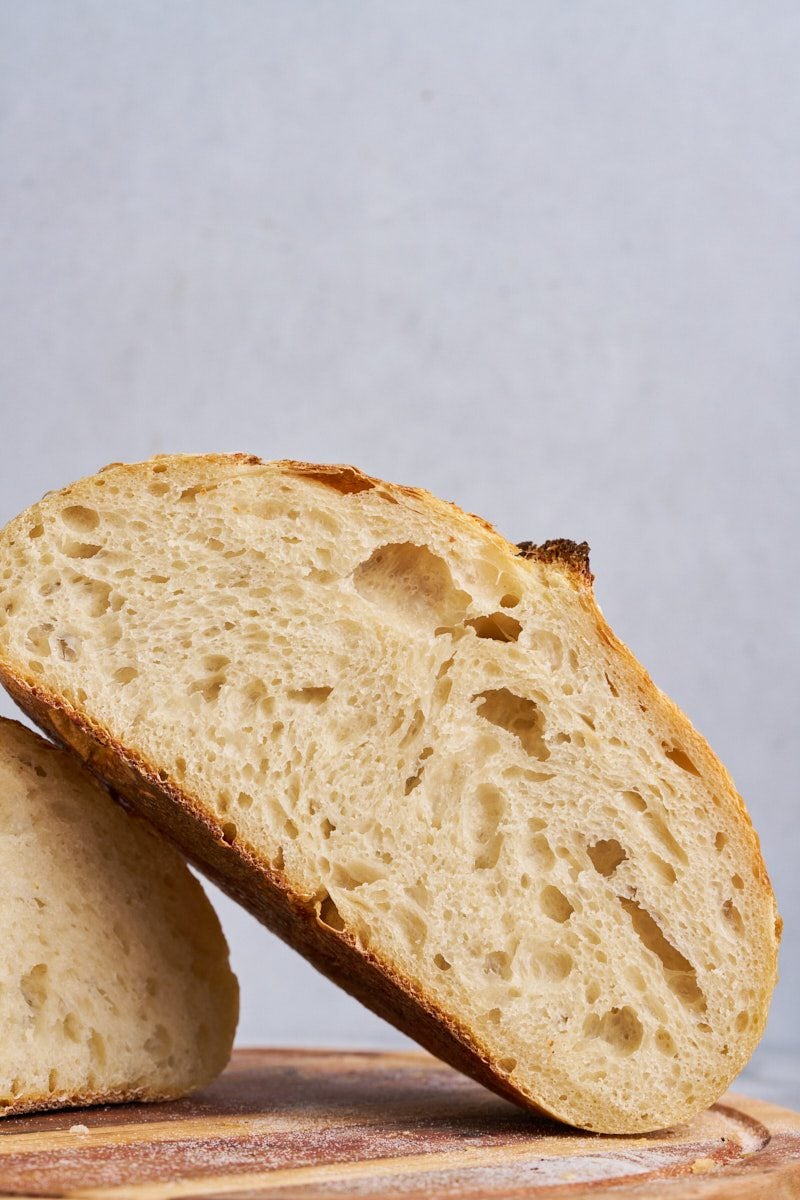
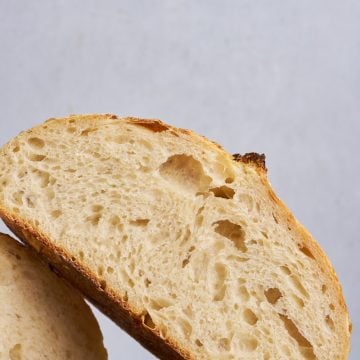
This recipe is simple but it has worked so well. It yields a loaf with a beautiful rustic crust and soft crumb.
This recipe makes one loaf and takes 2 days from feeding the starter to the final bake.
How I got started with sourdough
I started my sourdough baking journey this year and it happened kind of by accident.
I visited Barrio Bread, a James-Award-winning bakery that just opened a bagel shop in Gilbert. They had a few containers of sourdough starter and I took one home.
I set in the fridge and forgot about it. Three weeks passed and I thought I had already ruined the starter since I didn't feed it.
But I took a chance and fed it. It was active and alive! So I baked my first loaf and I have been obsessed ever since.
Ingredients
- Sourdough starter: I recommend getting an established starter from a friend or family member. I've made my own starter as well and will share the process in another post. You will need 50-75 grams.
- Flour: I use bread flour. I buy the King Arthur brand at Costco. I use 500 grams
- Water: I use filtered water from the fridge. I use 350 grams.
- Salt: I use Diamond Crystal Kosher salt. You can find this at Whole Foods. I use 10-12 grams.
Equipment
- Banneton: This bamboo basket is used to shape the bread and let it rest in the fridge (cold proof) until ready to bake. I like to use both a boule (round basket) and batard (oval basket). I recently purchased these cotton bannetons and I love them.
- Food scale: I use it to feed my starter and to mix my dough. The accuracy of the food scale allows you to predictable results (most of the time).
- Whisk: The Danish whisk helps with mixing the sourdough quicker. It is a nice-to-have. Most sourdough kits include this whisk. Lately I have been using a fork and really like it.
- Silicone sling: I used parchment paper for a long time until one day a loaf got stuck. It was a lot of work to try to remove the stuck parchment paper so I started using these silicone slings.
- Silicone bowl scraper: This one usually comes in a kit that includes the mason jar, lame to score the dough, whisk and spatula. I find it really useful to work cleanly and efficiently.
- Lame: To score the dough before baking.
- Dutch oven: I bake my loaves in a dutch oven and have yet to experiment with baking them on a steel.
To make sourdough there are a few tools that make your life easier.
Step by step how to make sourdough
Feed your starter
If you keep your starter refrigerated, place it on the counter and allow it to come to room temperature. I feed my starter 30 grams of bread flour and 30 grams of water.
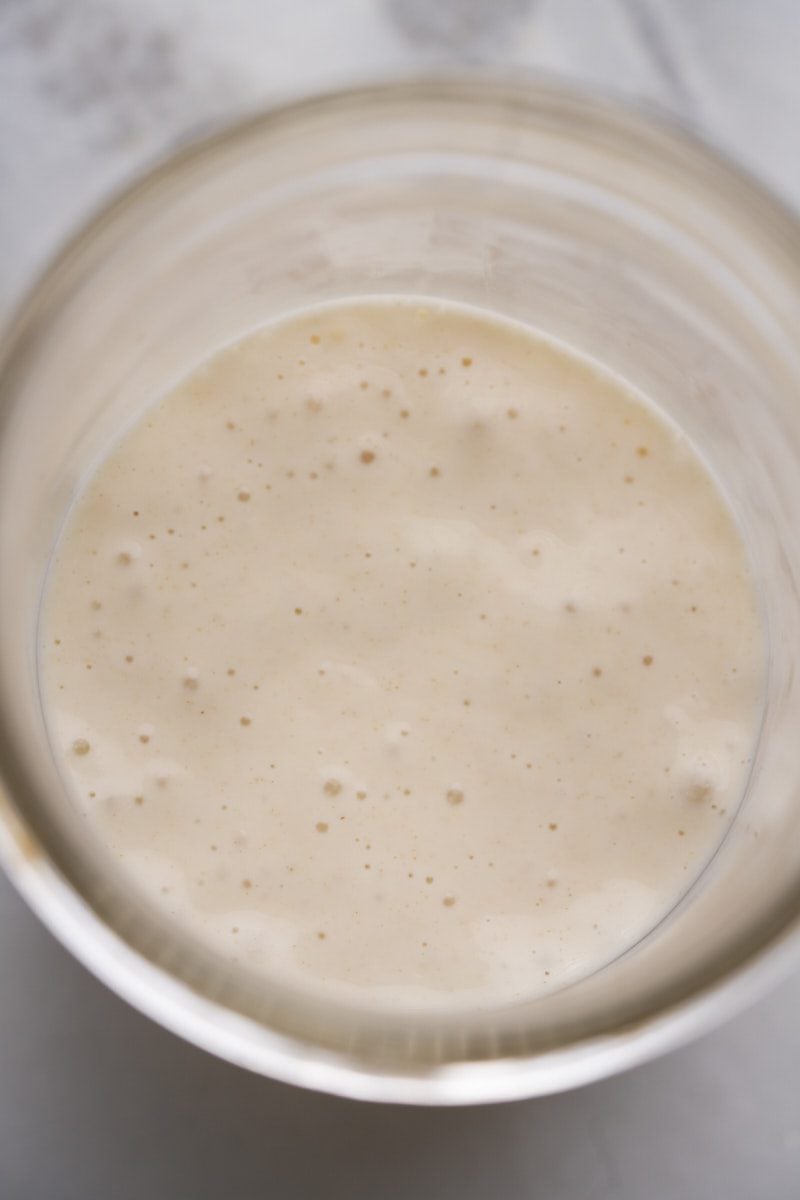
Mix and let it ferment for about 3-4 hours. My home is pretty warm and I usually ferment my starter at around 75F.
Mix the dough
Once the starter is at peak and it looks very bubbly and a bit thicker than a pancake batter, I mix 50-75 grams of starter with 350 grams of water and 10 grams of salt.
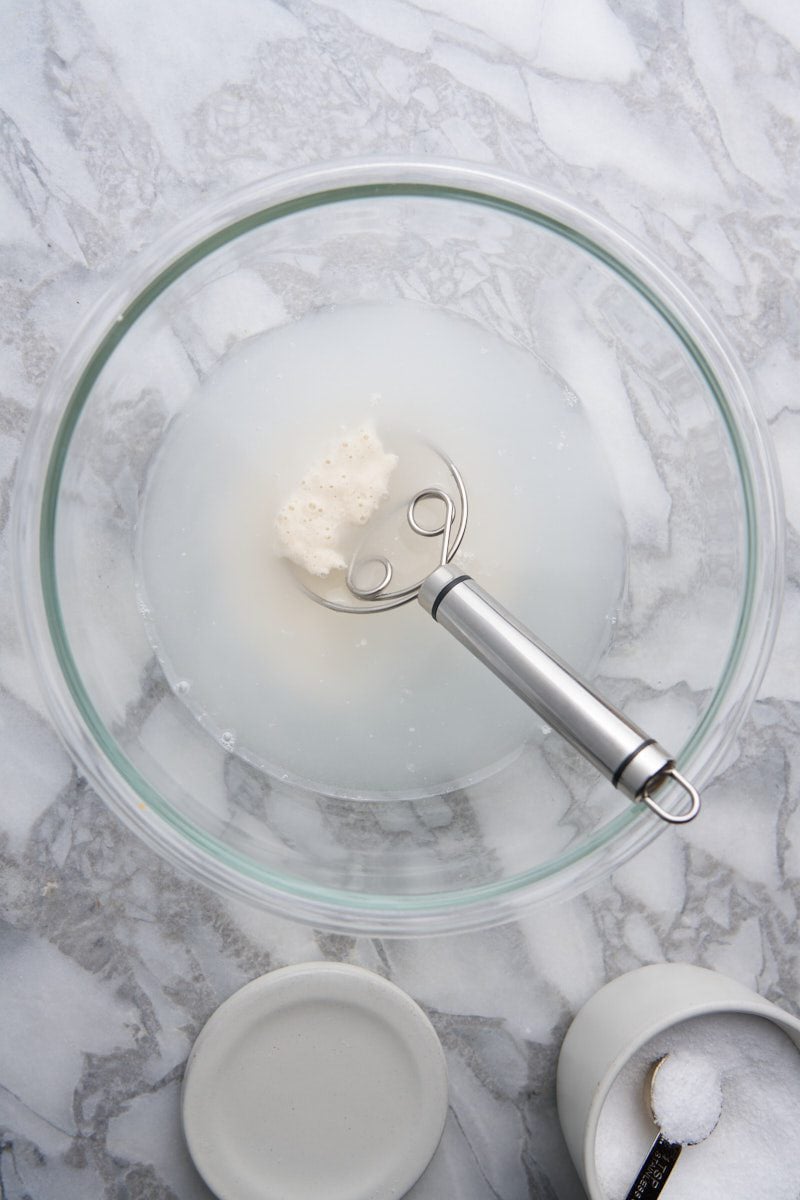
Stir with a whisk until it looks like a frothy milk and the starter is almost dissolved.
Then I add the 500 grams of flour and whisk until mostly uniform. Then I use my silicone scraper to clean the sides of the bowl and help me create a ball of dough.
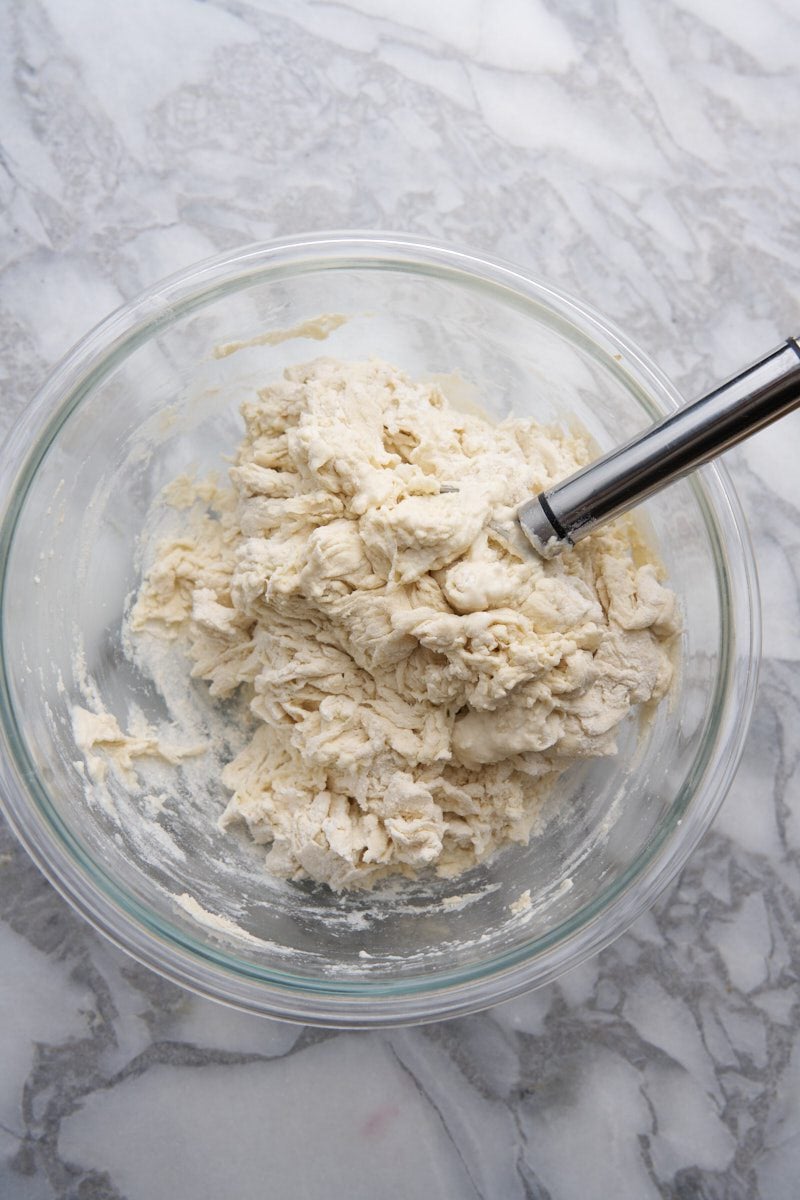
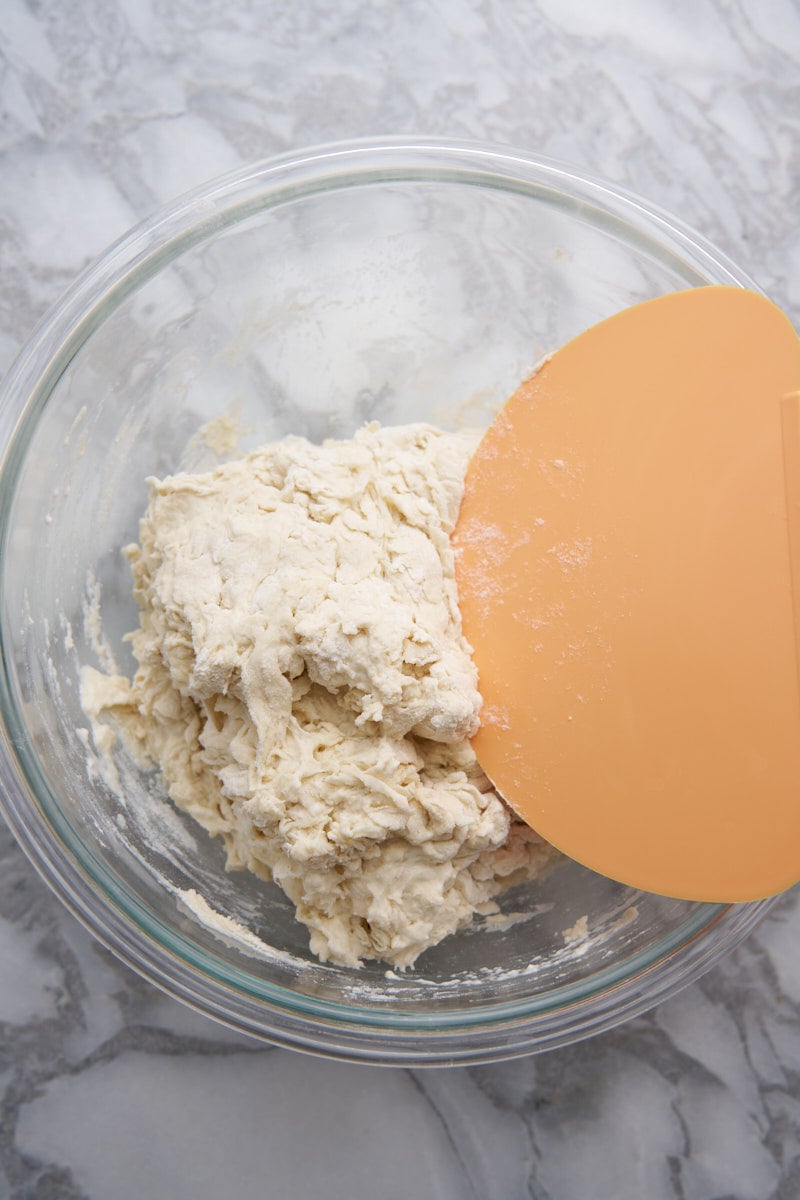
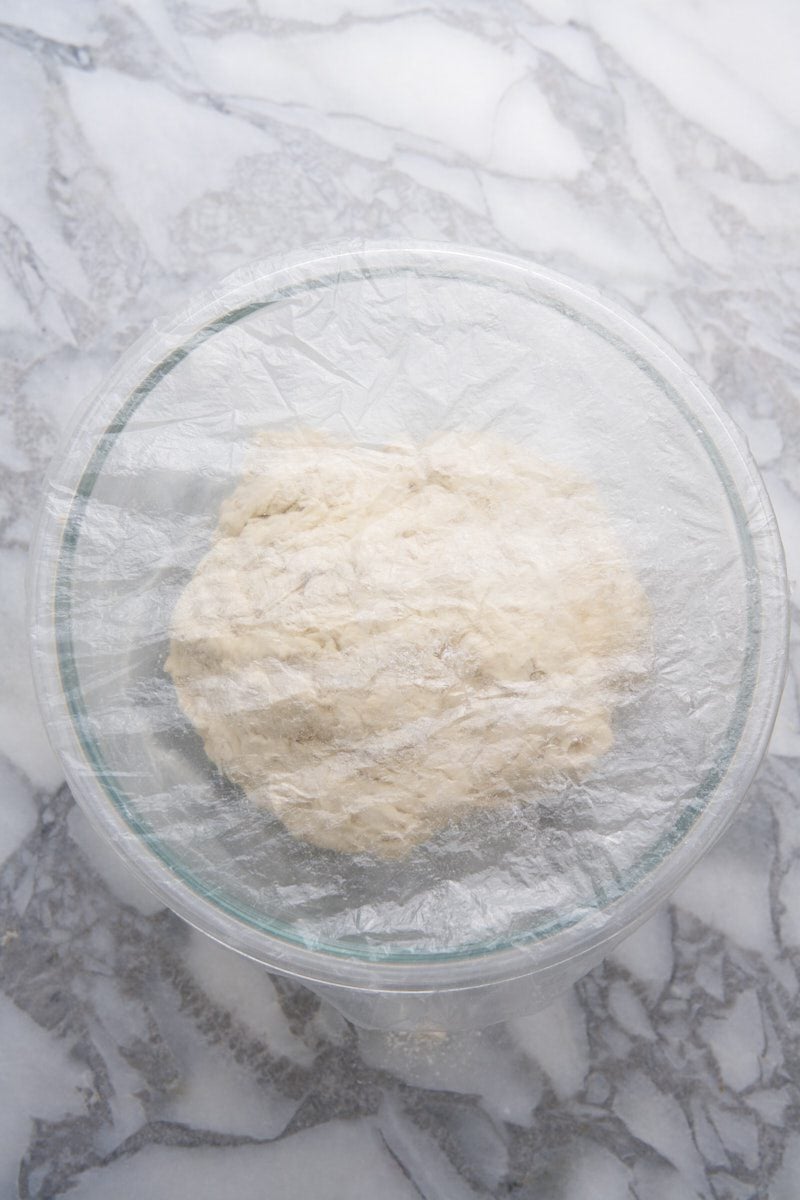
After you achieve a shaggy dough, cover the bowl with a plastic shower cap and set aside.
Stretch and folds
Allow the dough to rest for about 1 hour.
Think of your dough as having four imaginary corners. Each one will be lifted and folded.
You will start doing stretch and fold movements with the dough by lifting a small piece of dough and folding it into the rest of the dough. I do this with every corner or the dough for about 20 times.
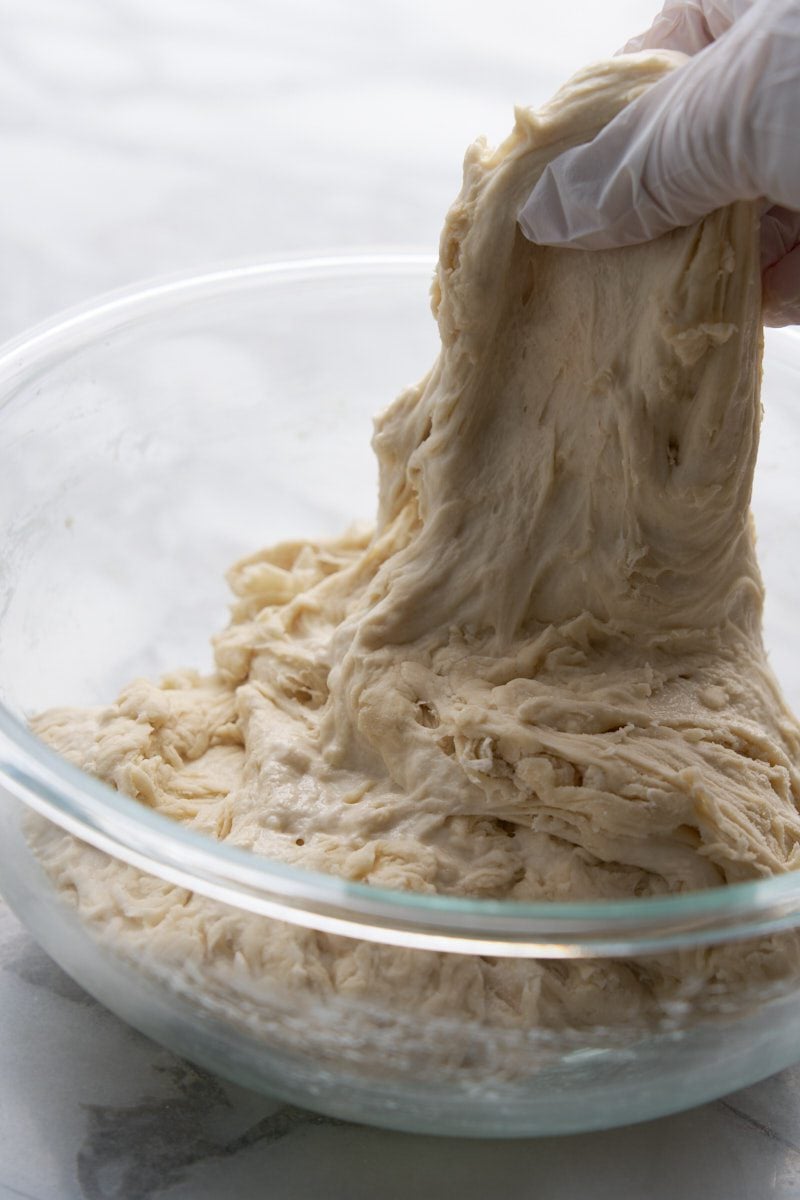
I like to use nitrile gloves to this step as the dough is still very sticky.
Cover the bowl and allow it to rest for 30 minutes. Then perform another set of stretch and fold movements. Do 3-4 sets and stop when the dough is getting tight.

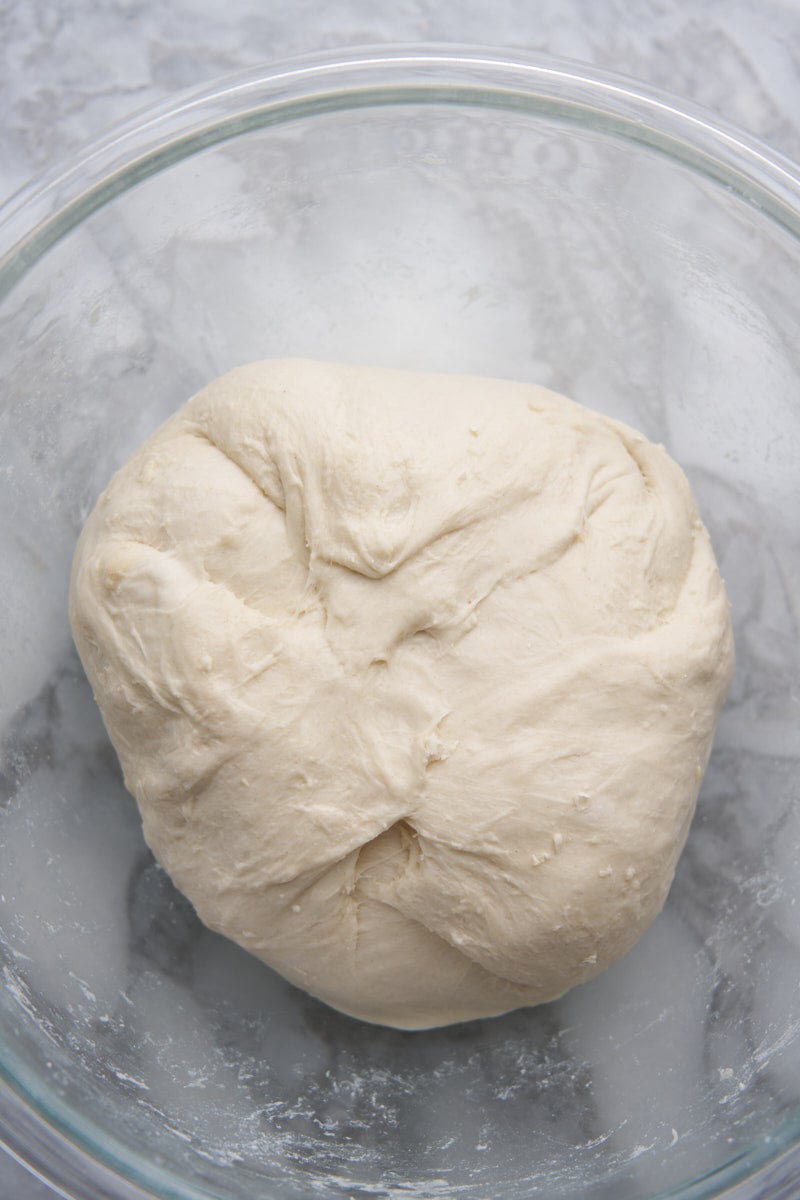
After that second set of stretch and folds you will notice the dough will become smoother and more elastic and will be easier to work with.
Over the next 30 minutes, perform another set of stretch and folds and then a last one set for a total of 4 sets spread over 2 hours.
At this point I do a coil fold by picking up the dough with wet hands, pulling up slowly and let it fall under itself. This will help build up strength and the dough will hold its shape better.
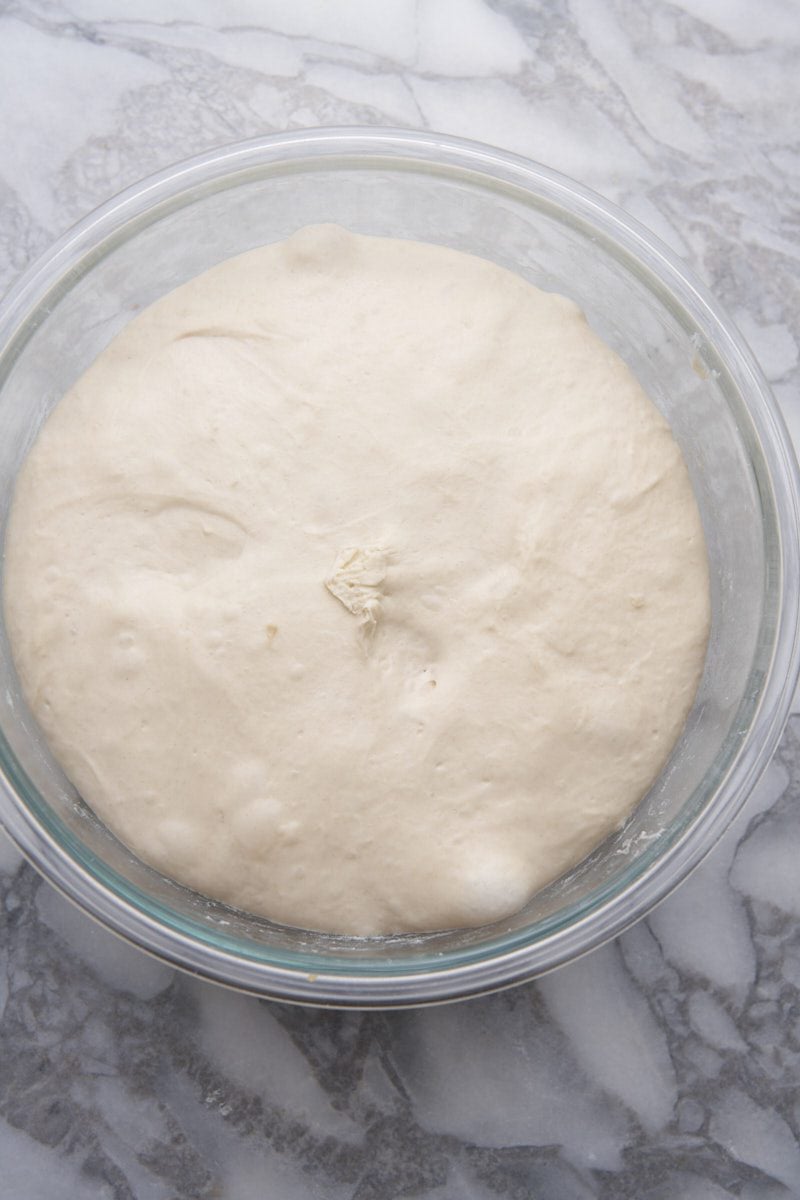
Bulk fermentation
After that, cover the bowl and allow the dough to ferment. This fermentation process varies and how long it takes depends on your home temperature.
In my home bulk fermentation happens at around 78F and takes anywhere from 4 to 6 hours.
Things I'm looking for to know my dough is fully fermented:
- A few surface bubbles.
- A smooth top that is jiggly.
- When I look under my bowl I can see plenty of small bubbles.
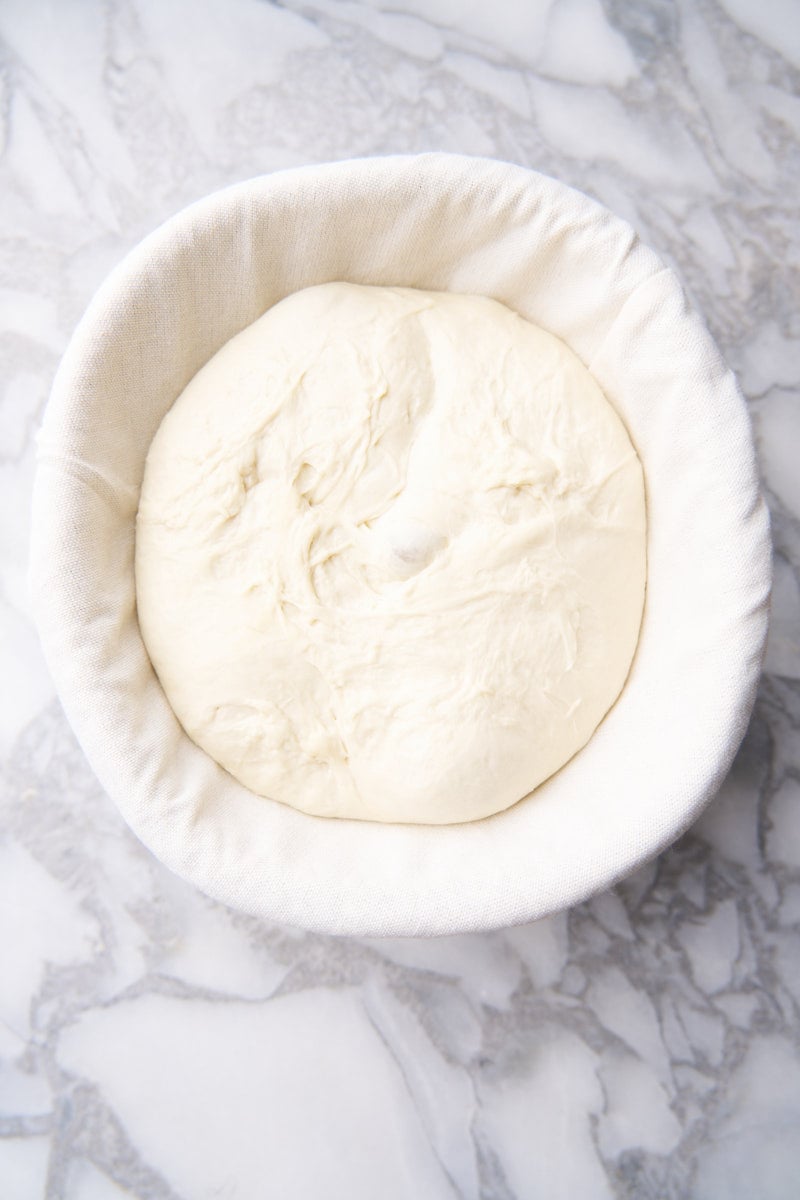
Shape your Sourdough
When bulk fermentation is done, I use a silicone mat to shape my dough. It helps keep the counter clean specially if using a dough that is sticky (like a high hydration recipe or a dough that is slightly over proofed).
A bench scraper is great to divide the dough when making more than one piece of bread for example to make sourdough mini loaves.
Here I used my round cotton banneton to make this loaf.
I like that these cotton bannetons are washable.
Cold Proof your Sourdough
Place your dough in the fridge for at least 3 hours and up to 24 hours.
This will slow down or stop the fermentation process (the colder the better) and firm up the dough so it can be scored and baked.
I have experienced that the middle drawer of my fridge which is set at 29F is the best place for my cold proof. The dough firms up way better than when I store it in the main fridge compartment.
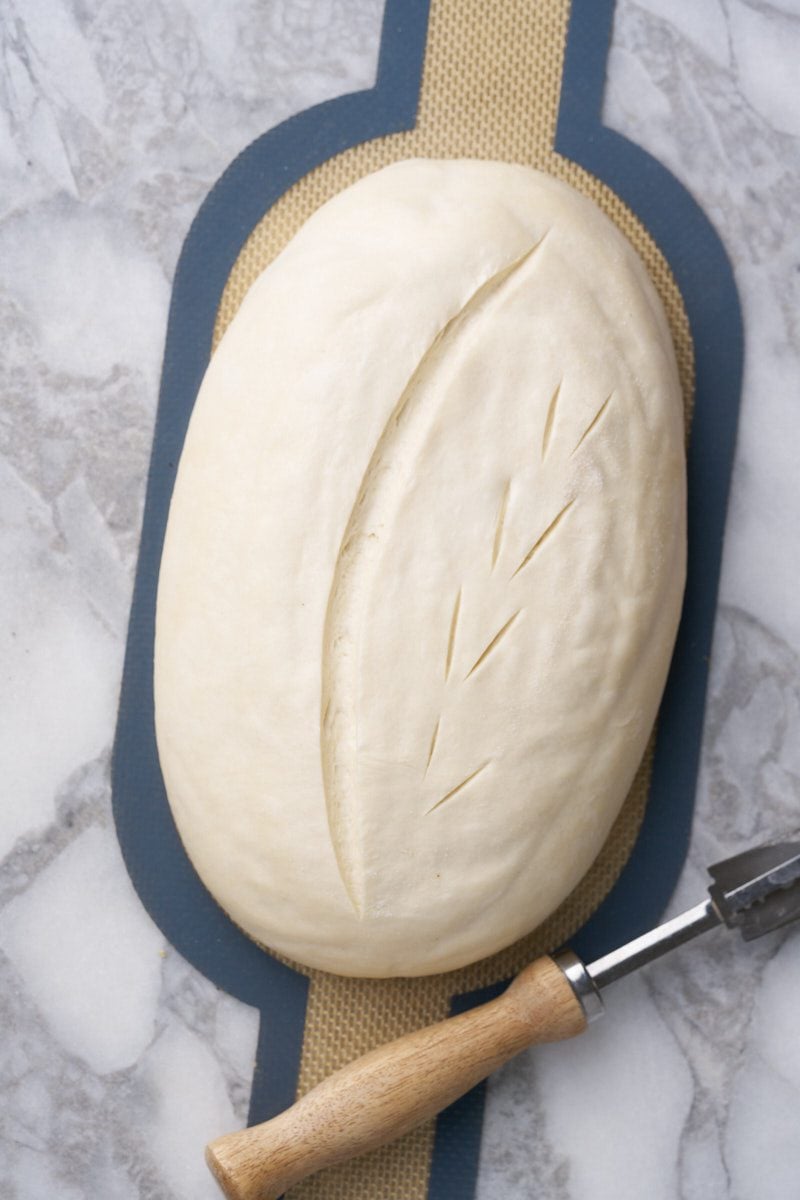
Score and bake
When it comes to scoring the dough, I keep it simple. I use a razor blade attached to a lame that came with one of my sourdough basket kits.
I do a main score along the center of the loaf and a couple of smaller decorative scores on the sides.
I bake my loaves most of the time using the cold start method.
I put my bread in a dutch oven and place it in the oven at 450F for 55 minutes. Remove the lid and allow it cook for another 5-6 minutes until I achieve the desired color on loaf.

One of the most important steps is allowing the sourdough to fully cool down on a wire rack. It needs at least 2 hours of cooling down before you can slice it.
If you cut the bread too early the steam inside the bread will turn it gummy and dense.
Basic Sourdough Recipe
Equipment
- 1 Food scale
Ingredients
- 75 grams sourdough starter at peak
- 350 grams water
- 500 grams bread flour
- 10 grams kosher salt
Instructions
- In a glass bowl combine your sourdough starter with the water and whisk together to dissolve.75 grams sourdough starter, 350 grams water
- Add the salt and flour and whisk together until you form a shaggy dough. Cover with a plastic cap and allow it to rest for 1 hour.500 grams bread flour, 10 grams kosher salt
- After the 1 hour mark start performing stretch and folds every 30 minutes or so for a total of 4 sets.
- Place the dough in the counter and allow it to bulk ferment for about 4-6 hours depending on your home's temperature. I ferment mine around 75F on my kitchen counter for about 5 hours.
- Look for signs of fermentation. The dough should be a little jiggly when you shake the bowl, there should be bubbles on the surface and on the sides.
- After bulk fermentation is complete, shape the dough into the desired shape (round or elongated) to place on your banneton.
- Place in the fridge covered with a plastic cap and allow it to cold proof for at least 3 hours. I let mine cold proof overnight for about 12-16 hours before baking.
- When ready to bake, use the lame to create a score on your dough to release steam in a controlled way.
- Place it in the dutch oven and set up the oven temperature at 450F and bake for 55 minutes with the lid on. (no preheating required)
- After 55 minutes remove the lid and bake for 5 minutes or until the desired color is achieved.
- Remove from the oven and place on a wired rack and allow it to cool down for 2 hours before slicing.
Leave a Reply